We save all our vegetable and fruit scraps in a kitchen midden behind the garage. And a wonder it is! A magnet for all forms of crawling life from bacteria to bugs to worms to voles.
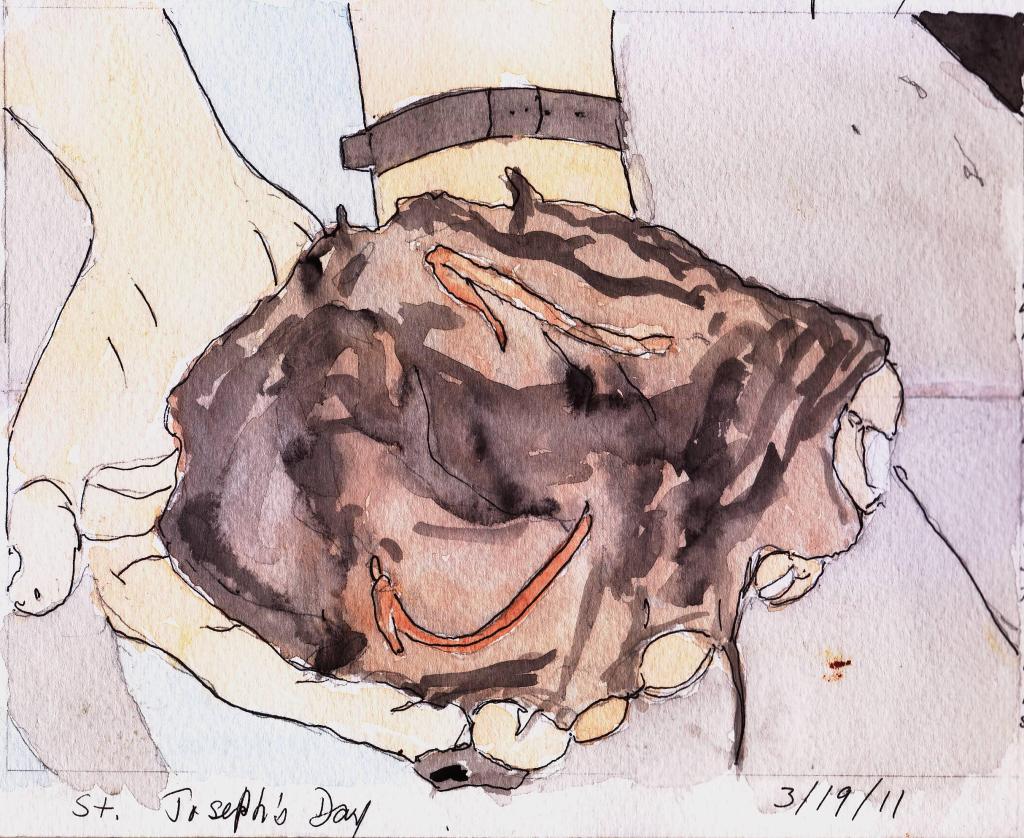
They together create a compost so rich, so nourishing a base for all plants that my aunts on the Daly side called it “Black Gold”. And all we do is carry out the weekly carrot peels, apple cores, celery ends, onion skins, orange peels and cetera. Some people, especially grandchildren, find it VERY interesting to look at the compost pile as its turned and see all the creatures at work, as here:

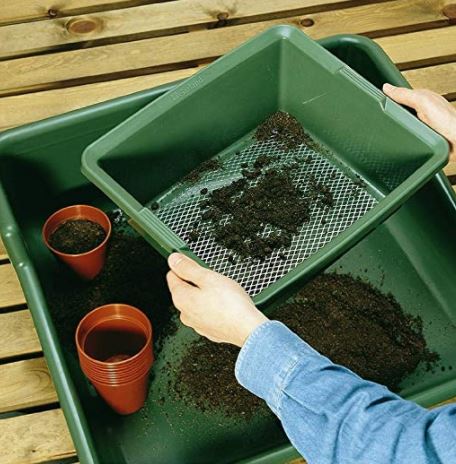
Last April when the Black family went to sift some of that rich compost to plant some cilantro seeds in, all went well. But then Edie Black my granddaughter excitedly demonstrated for us how they sifted the compost into fine soil and got her finger badly cut on one of the torn edges of my ramshackle, flim-flam sifter. A sharp, ripped edge grate wire like this did:

I felt terrible about having such shoddy items around that could injure people, especially children. So I resolved to get a quality sifter for the compost that especially covers all wire grating edges and avoids chances for these types of dangerous cuts.
It needed to be able to fit on top of our wheel barrows (as that’s where we sift the compost into) neither too wide, nor too narrow for any of the different sizes. It needed to be small and light enough for the less beefy folks to carry and lift and it needed to be waterproof and able to survive staying outdoors all the time.
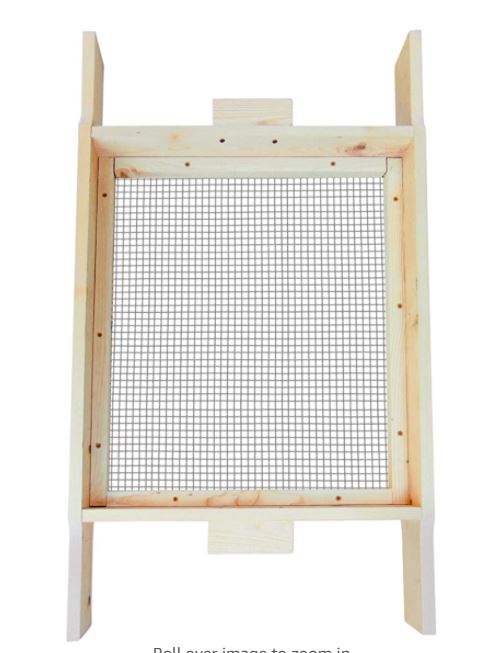
I looked online for one. But they were either too small, not made with pressure treated, outdoor proof wood, or made with plastic…

So I searched further on line and found a myriad of options for constructing a soil sieve yourself. This YouTube offered a particularly good way to create one.
We had the mesh wire, and enough pressure treated boards left over to make it happen. I began to figure out dimensions that would fit the wheel barrows, measured some distances and sketched some options.

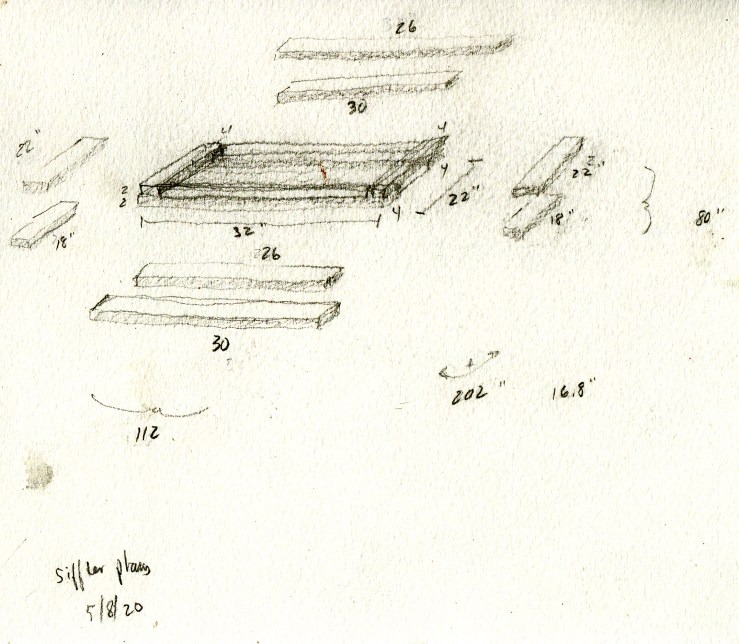
But then I realized the corners were key to strength. I wanted to build one with more durability and strength than the simple quick DIY examples seemed to be describing — “butt jointed” corners. All their alternatives seemed to offer weak corners that could separate under pressure. I needed strong corners and as I looked I realized that the best option for strength would involve overlap or “half lap” joints like these:

These took time, skill and usually equipment to make, but they were the best way to make good quality frames. I had made a decision to avoid power table saws out of fear of becoming forgetful or careless and losing a finger or worse some day. So, the question was how to cut such precise half laps with a lowly skil saw? The information superhighway once again comes to the rescue in the form of a tailor made solution also from Wood Magazine, “Cut Big-Time Joints with a Small-Time Saw”. The key was to make this cutting guide:
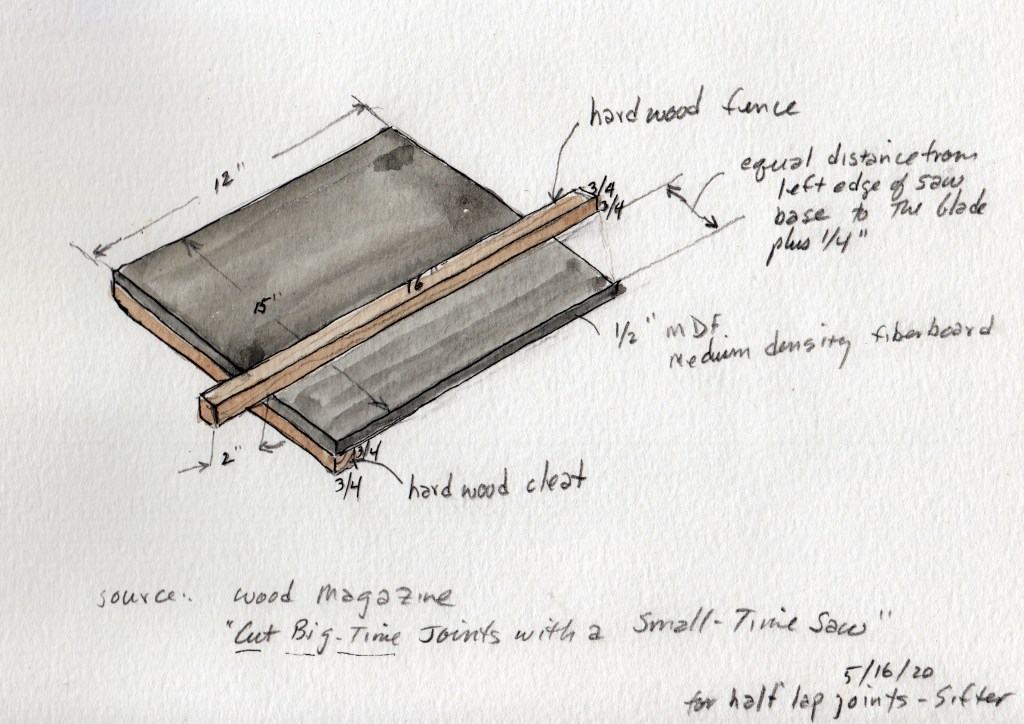
The article very clearly described what to do and how to do it, so I took the initiative and made the cutting guide:

So with the Cutting Guide ready, the pressure treated boards selected, measured and cut for each side I was ready to cut the half lap joints. The most difficult part involved setting the saw depth accurately to exactly one half of the board’s depth. This TBH was a matter of trial and error vs. caliper precision. Here’s how it went.
From there we glued and clamped the corners, cut and stapled on the grating screen, covered the finished base with another layer of wood, effectively burying the grate edges in a wood sandwich.
And now we are ready again for the grandchildren to help.

