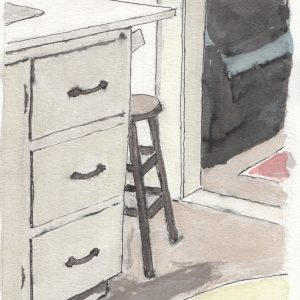
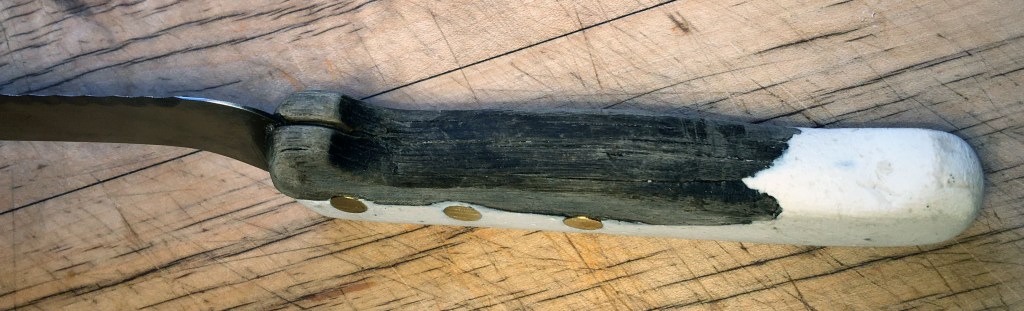
Part of winnowing down over 40 years of collected “belongings” means going through the hard decisions of let go or repair. Sitting in a “junk” drawer for probably 24 of those 40 years was a wonderful serated edge long knife with black walnut custom formed handle. A tang! That is the name for the metal part of the blade. I had found the tang separate from the split and black-lab-chewed black walnut handle. I found the handle in two halves, known as “scales” and the end tip of each half was chewed by our (Requiescat in Pace) Black Field Labrador, Gwen. Also the top parts above the rivet holes on each side had disappeared. 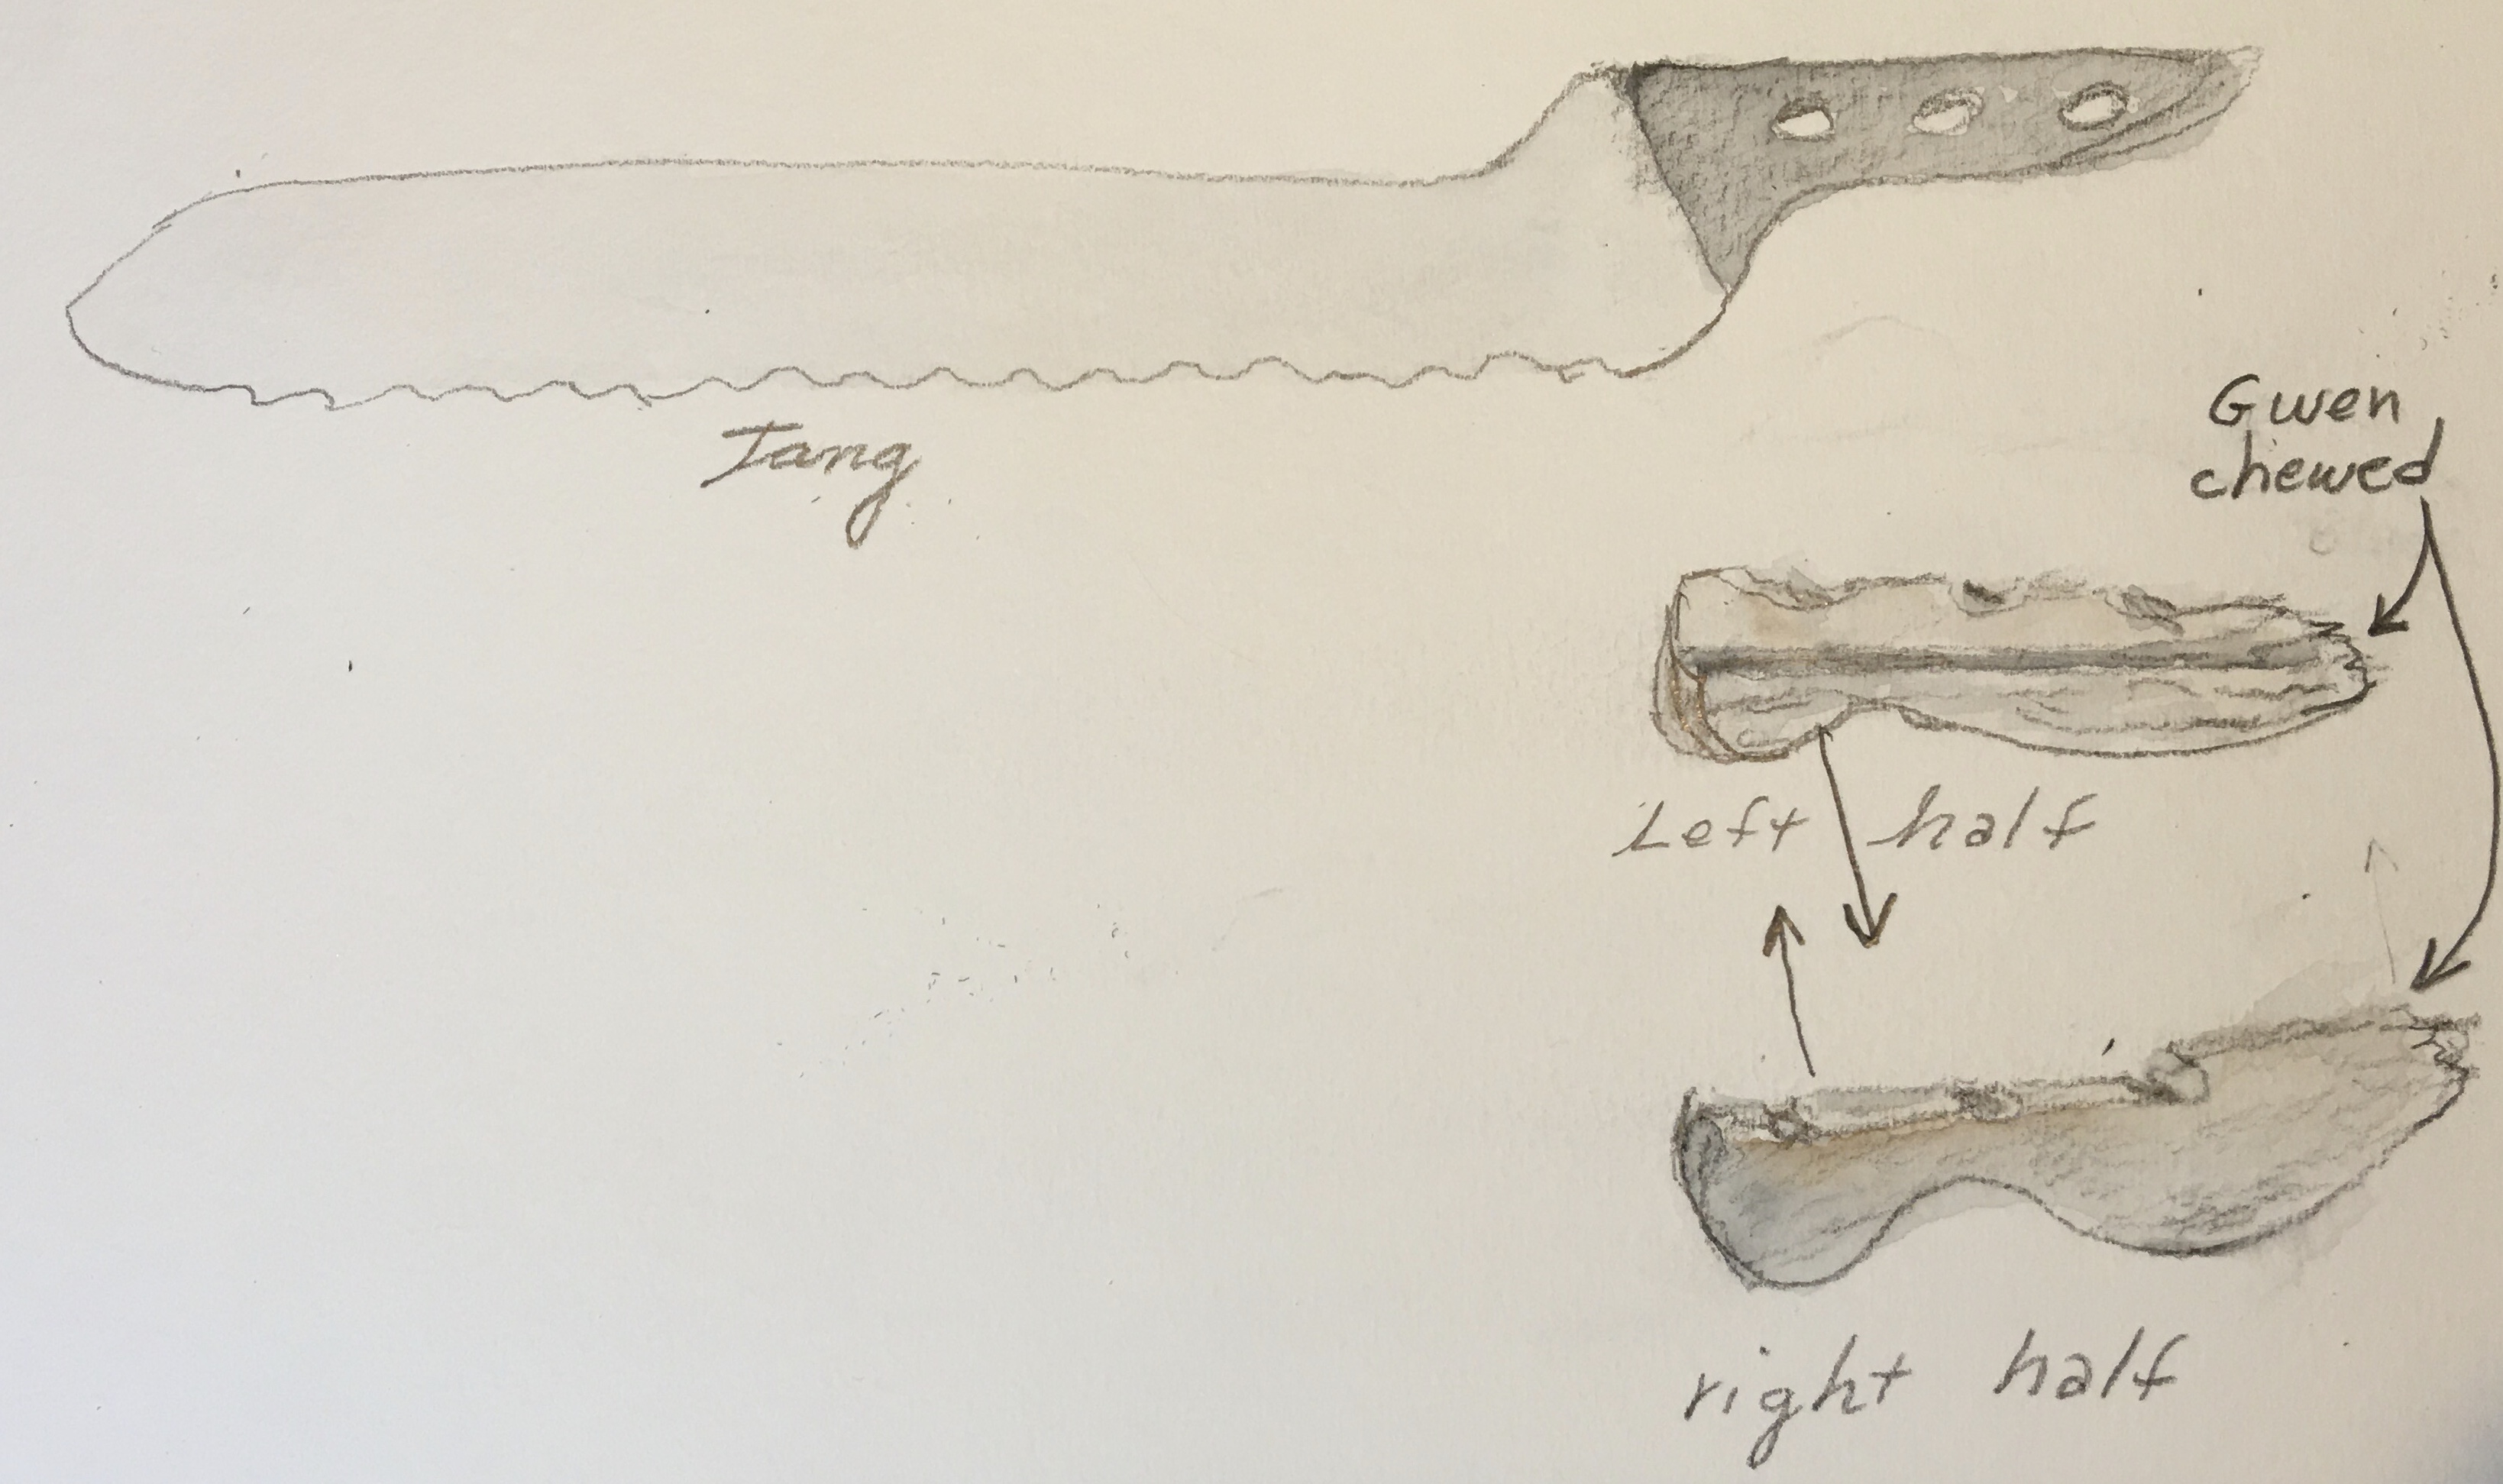
Could it be repaired? At first I thought no. But then I remembered the way Scott Sidler suggests restoring rotted windows using liquid wood and wood epox.
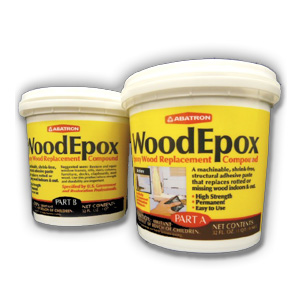 I had used it restoring our antique windows and felt it might be a way to restore the handle and knife.

This set me on a journey of learning about handles and rivets and more. To start I needed to learn what those brass fittings were that tied together the “scales” to the tang. The original metallic ones were corroded and all but one partial piece was gone. At first I thought that knives used just brass dowels that pushed through. I was not sure how they stayed in place. I could use a caliper to measure the holes’ diameter of the tang : 5/16 of an inch. And the handle seemed half an inch wide. So the rod should fit those dimensions.
I found a site for dowels, which the industry seemed to refer to as “knife pins”. 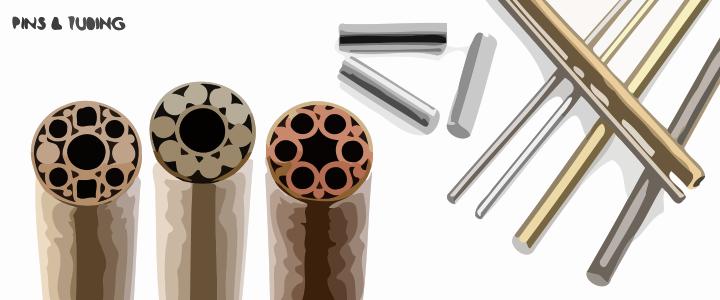
With looking around I realized that knife rivets (vs. ‘pins’) also existed in various types– Corby Rivets:  Loveless Bolts:
 and, most importantly cutlers rivets:
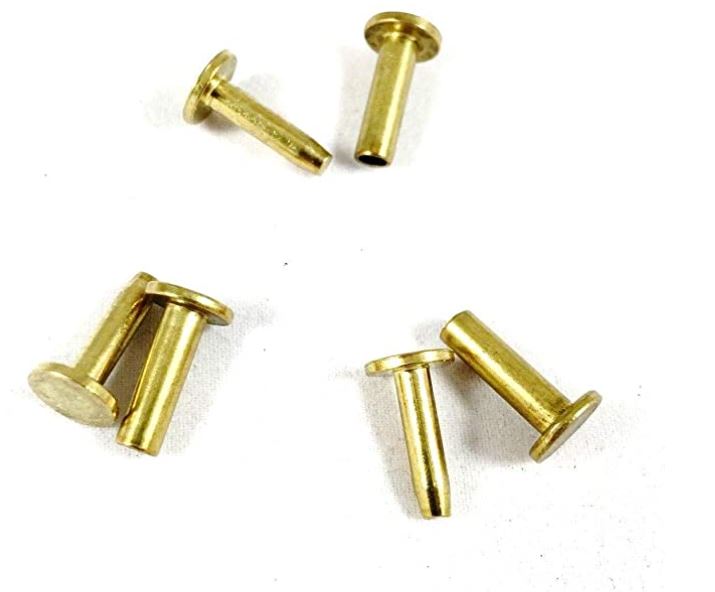
Mr. Tracy Mickley, owner of USA Knifemaker provided a very helpful video explaining how to install (hammer down) cutlers rivets and I felt these offered the best way to add rivets to the repair.
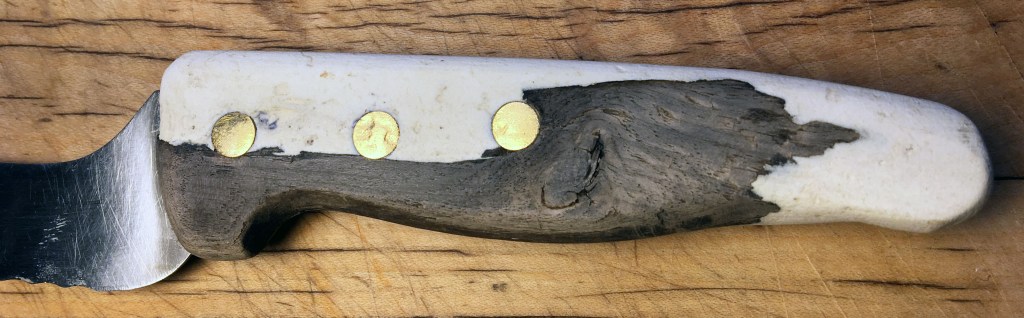
To rebuild it I first glued together the two halfs of the handle, the scales. Then I ordered the cutlers rivets from Amazon. I found them very hard to start but eventually hammered in the three rivets to the three holes offered by the Tang and the now glued together handle.
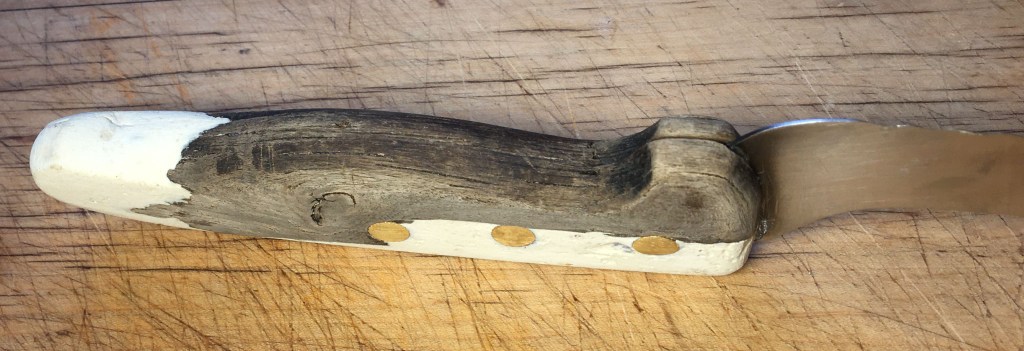
So far so good… to fill in the missing parts of the handle I put “liquid wood” on the handle openings, then mixed and applied an overload of wood Epox. It looked hugely swolen and as if it would never come out at first. I let the epox dry for a full day then used a wood rasp to file it down roughly to shape and then used a Hand Sander and my hands with sandpaper to shape the epox to about the way the original handle looked and felt.
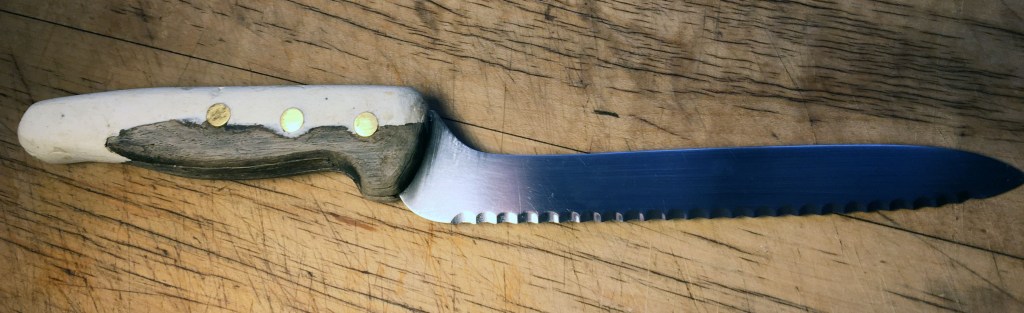
It worked! Knife restored. (in honor of Gwen!)


Update: 6 Months Later
The knife has worked beautifully and the handle held up strongly, comfortably.
I noticed that over time, the white of the wood epox got soiled lightly. Then scrubbing it with an abrasive green scouring pad cleaned it but also wore it down.
It became clear that the whole handle needed a strong resilient finish to ward off both soiling and abrasion.
I used a spray can of high gloss clear acrylic
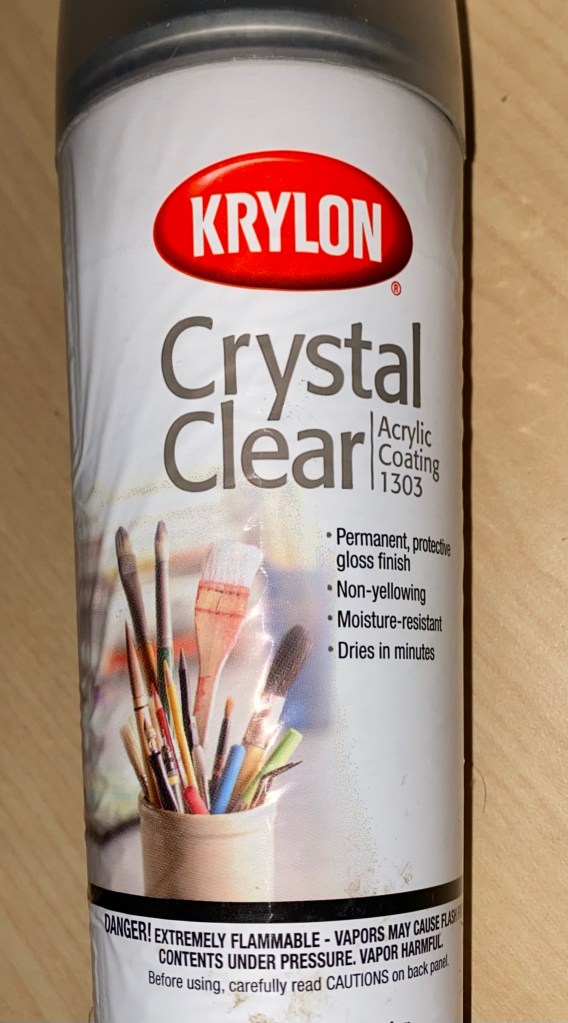
…and successively laid on light layers of spray, about five, with 24 hours of drying between each coat.
It resulted in a very strong smooth finish over the full handle, as shown here:
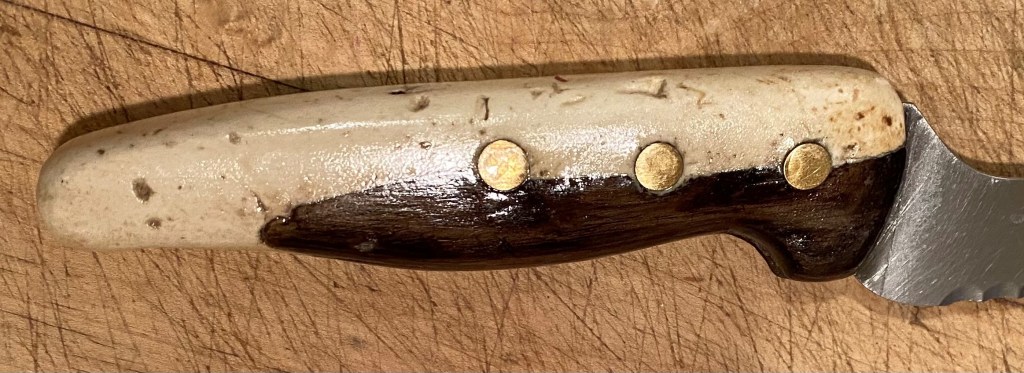
It stays clean, resists abrasion but it feels smooth. My wife calls it now the “eel skin” handled knife.
So there’s the other side of the coin for this fix.
Also, you can see from the pocks in the wood epoxy that I should have taken more time to fully knead and smooth the white glob before applying and drying…. a few air holes evident.
Other than that I am very thrilled with it.
