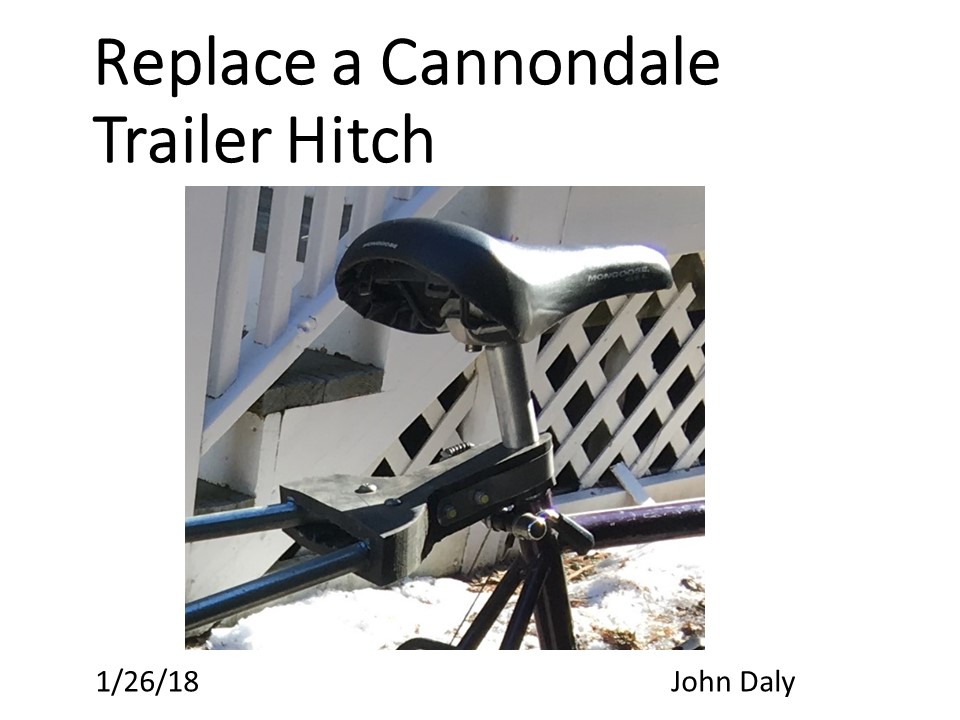
Here’s a method describing how to replace a Cannondale trailer hitch.
We had used one for many years and they usually hold up extremely well.
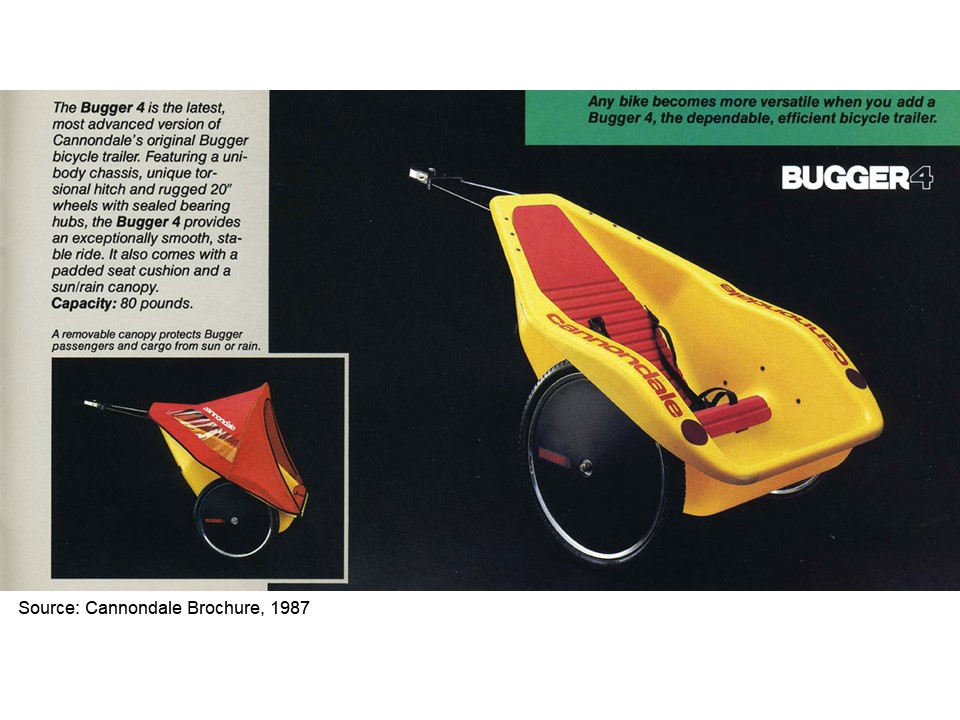
However the hitch itself disintegrates and collapses. It’s made out of lexan which kind of just crumbles and dies over time.

Cannondale doesn’t supply the part anymore.
I checked on bike forums and there’s a group focused on ‘replacement hitch for Cannondale bugger’. 
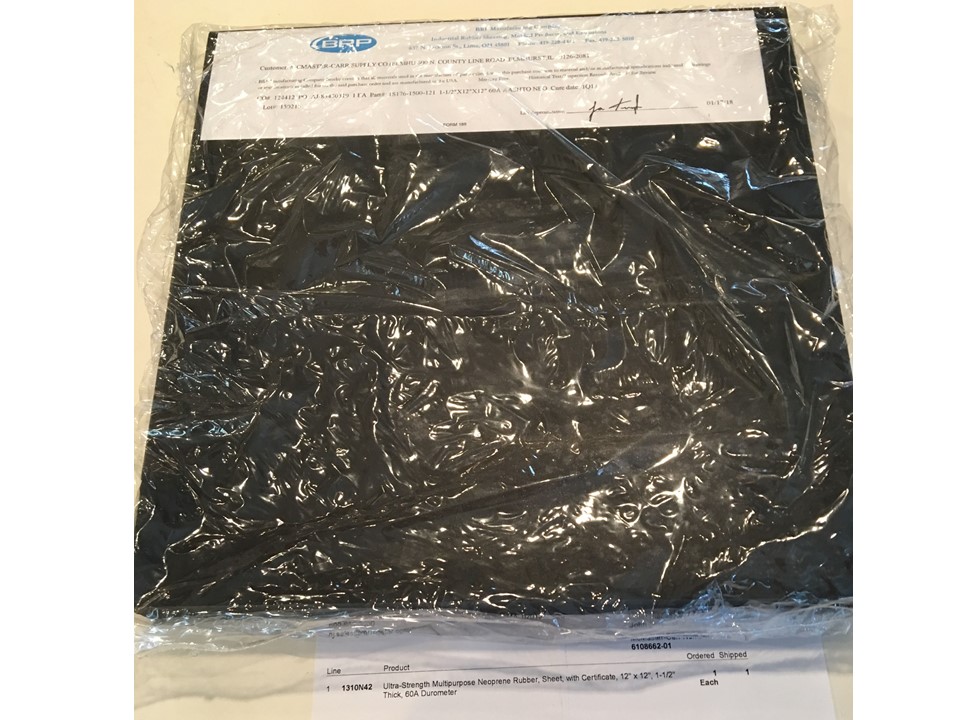
On that discussion group a fellow named Todd explained how to replace the hitch with a rubber one. The first thing is to order the rubber from McMaster and Carr.
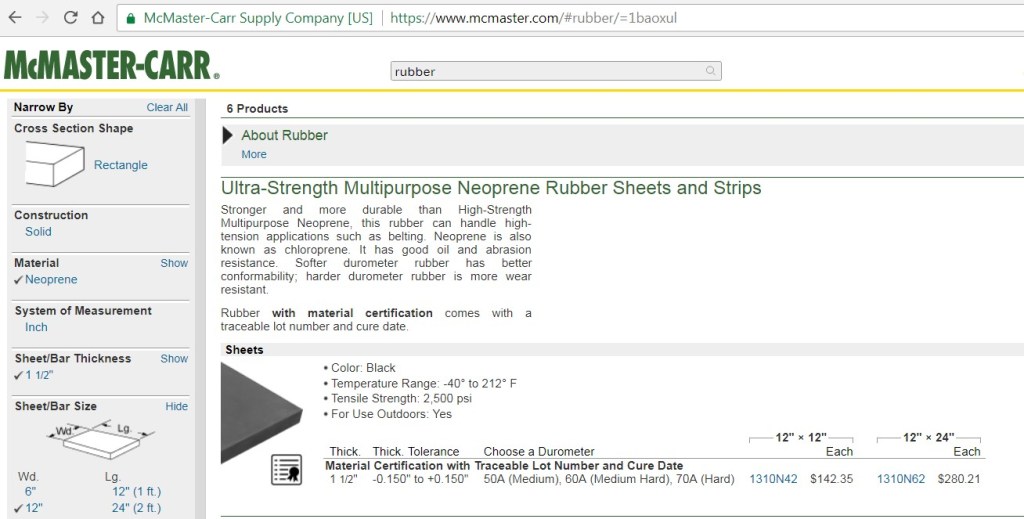
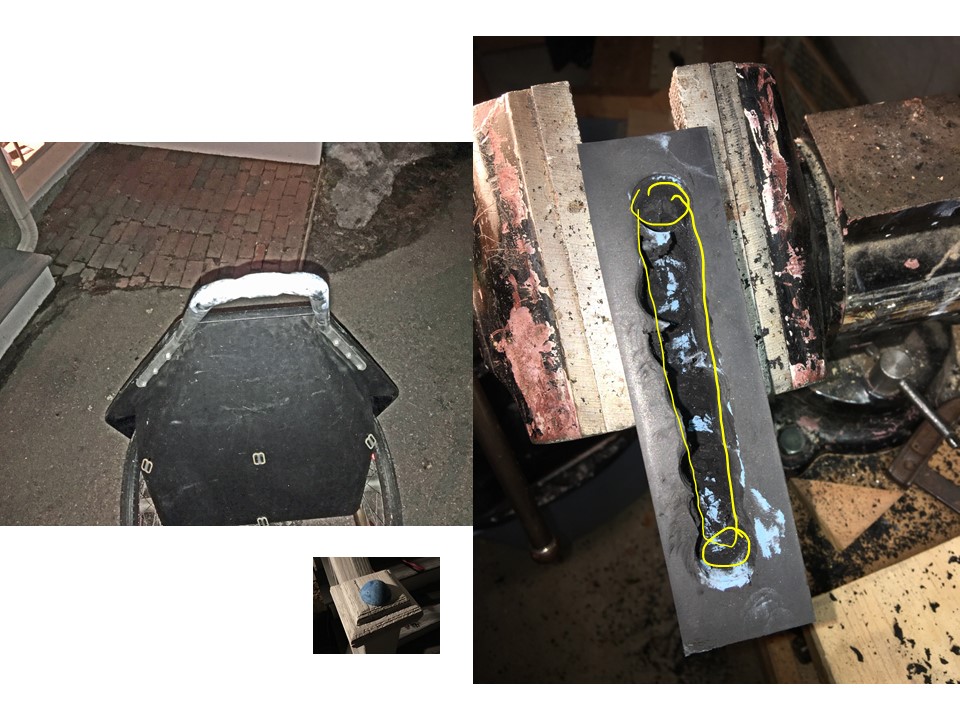
It is one and a half inches thick and you must buy it by the block. It’s pretty heavy, pretty strong and costs one hundred forty dollars. So, it’s it’s an investment but its worth it.
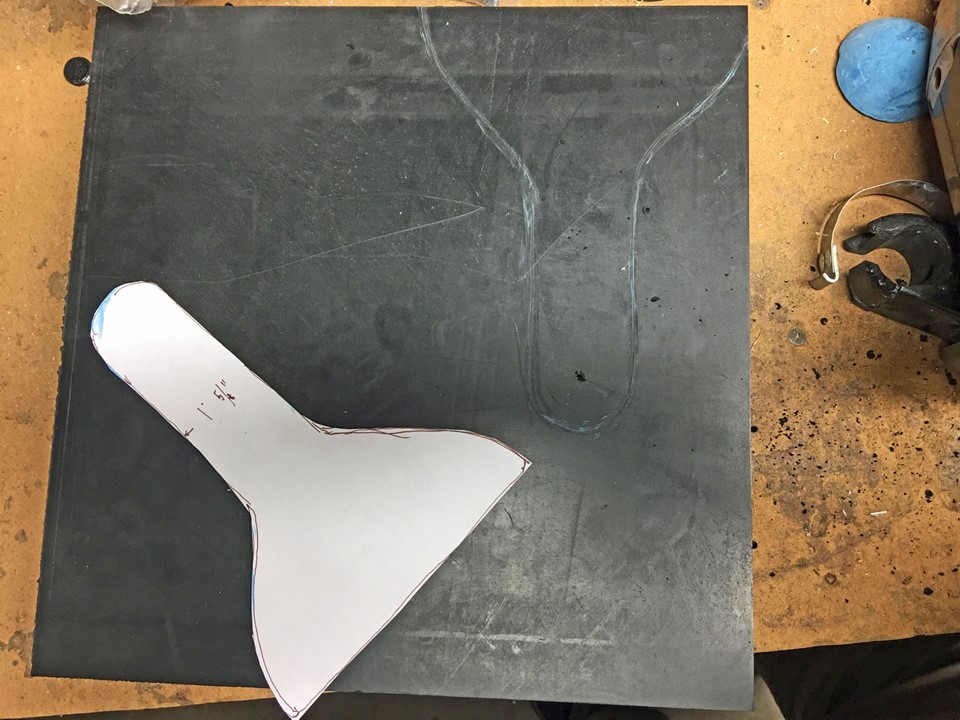
You kind of create a template out of the old hitch in paper or cardboard, then chalk it onto the rubber, scribe it into the block. (Here is a template in PDF format)
First drill out the seat post hole with the a 1 inch Spade drill. Then use a jigsaw with a metal cutting blade to kind of carve out the rest.
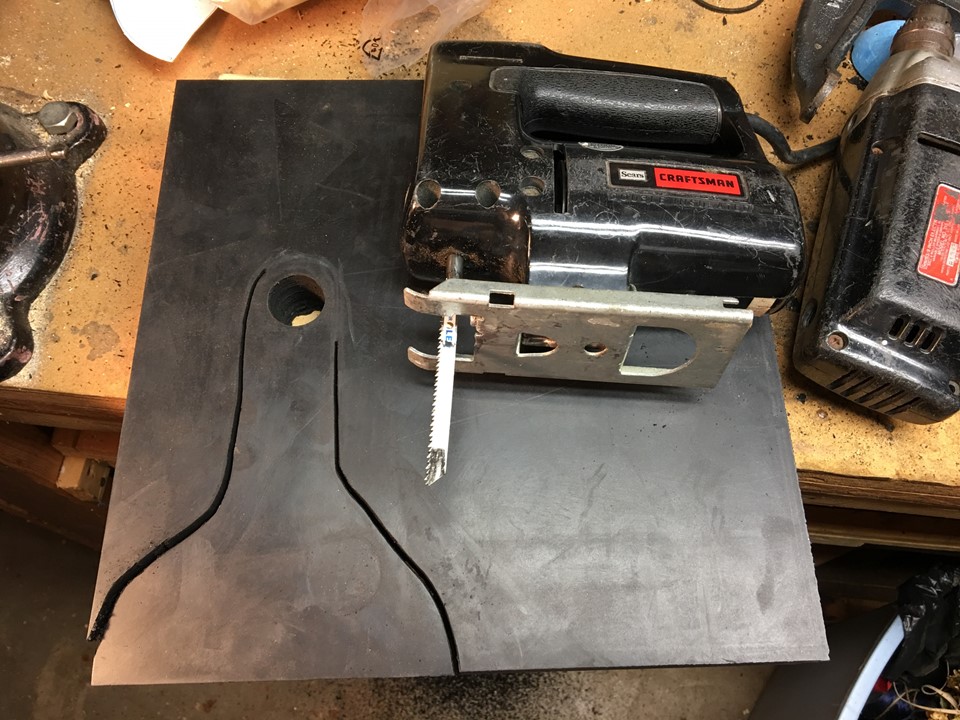
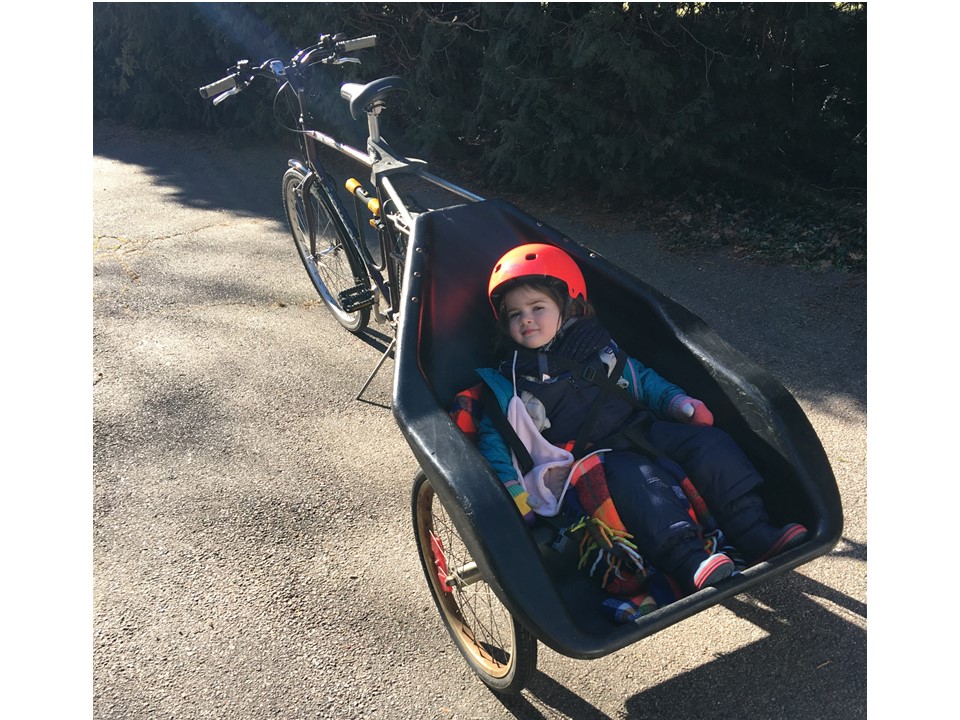
The cutting is relatively easy, smooth going. Once cut out you can attach it to the to what Cannondale refers to as the “Trailer Pole”, this metal pole pictured here. (Here are dimensions for the hitch fittings in PDF.)
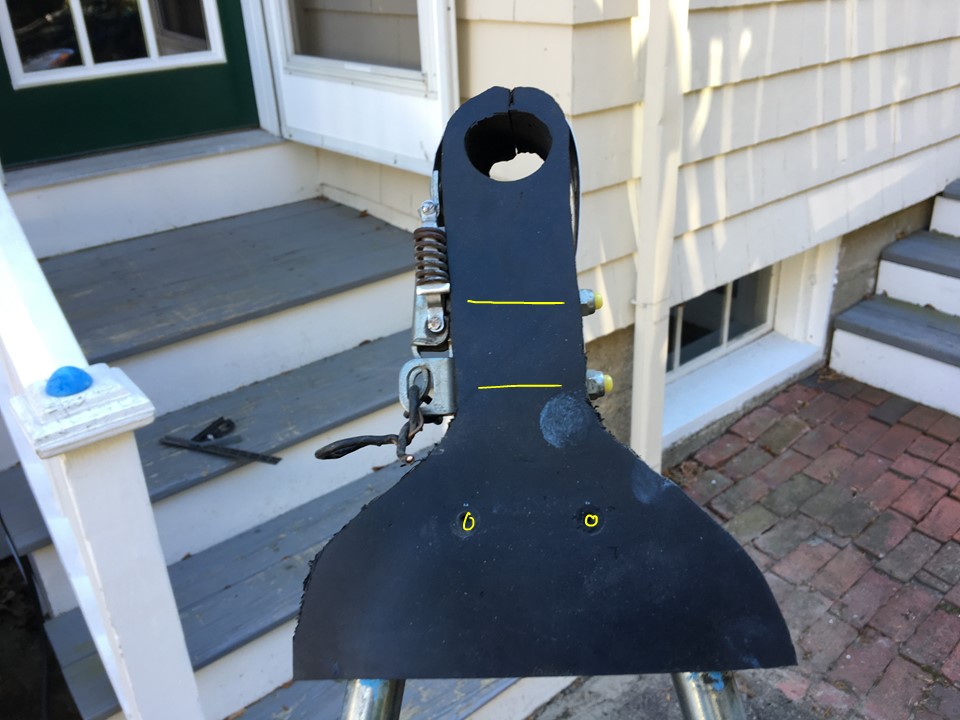
This process is a little bit of a trick. Todd had said, “.. just drill two holes in the rubber and slide them on after you cut off the top of the trailer pole. Cut off the top and just drive it in that way.
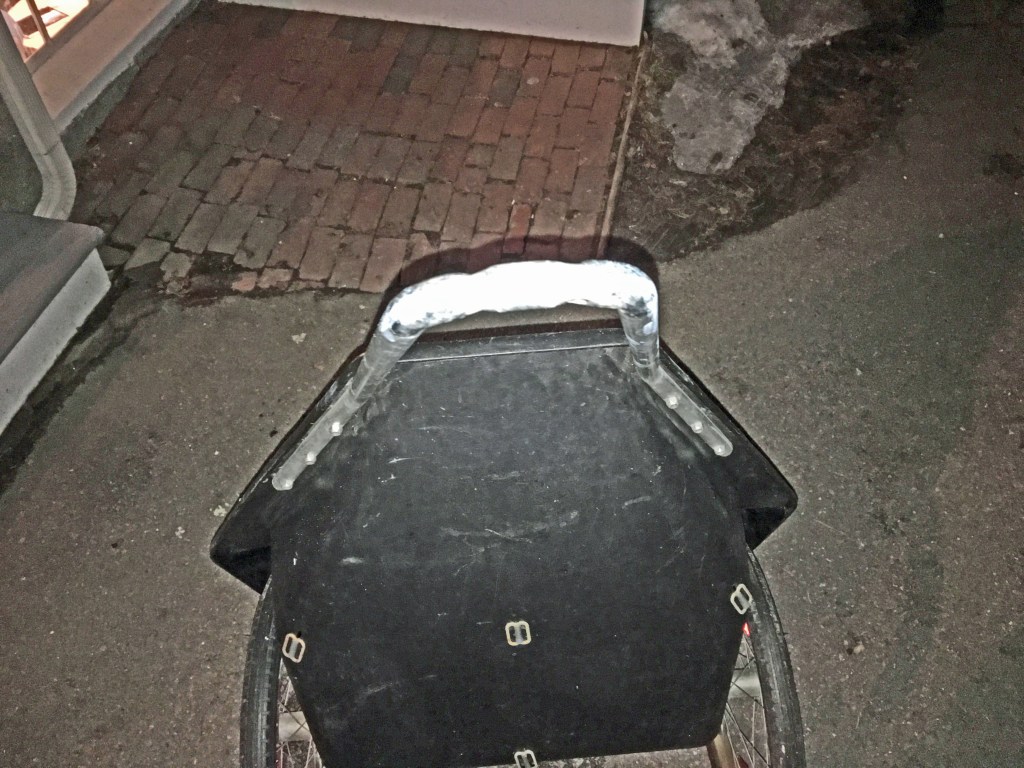
I didn’t want to wreck the integrity of the pole here so I decided I was going to just drill out a cavity and allow the insertion of the full U shaped top of the trailer pole, right up through. Mainly I did not want to modify and cut the factory hitch pole. I wanted to keep it intact. So I hollowed out a cavity in the rubber to house the U shaped trailer pole. I used a ¾ inch spade bit to channel the opening. As I came closer to full excavation I needed to work with more precision. I chalked the top of the U pole: And then kept pushing down the rubber opening to get chalk on the obstructing parts. I kept putting it on and then drilling out more where the chalk appeared. A bit like a dentist who asks you to grind your molars on articulating paper to see where he needs to file down a molar crown.
When I finally got a clean fit. I slit the seat post opening and then I pushed it onto the pole. I marked and then drilled the holes for bolts (original) to tie the hitch rubber to pole. Finally I screwed these on. You install the same original hardware back in using the same drill bit size about a quarter of an inch drill. You’ll see these two holes on the old Trailer Pole.
Get those in; screw that on and your good.
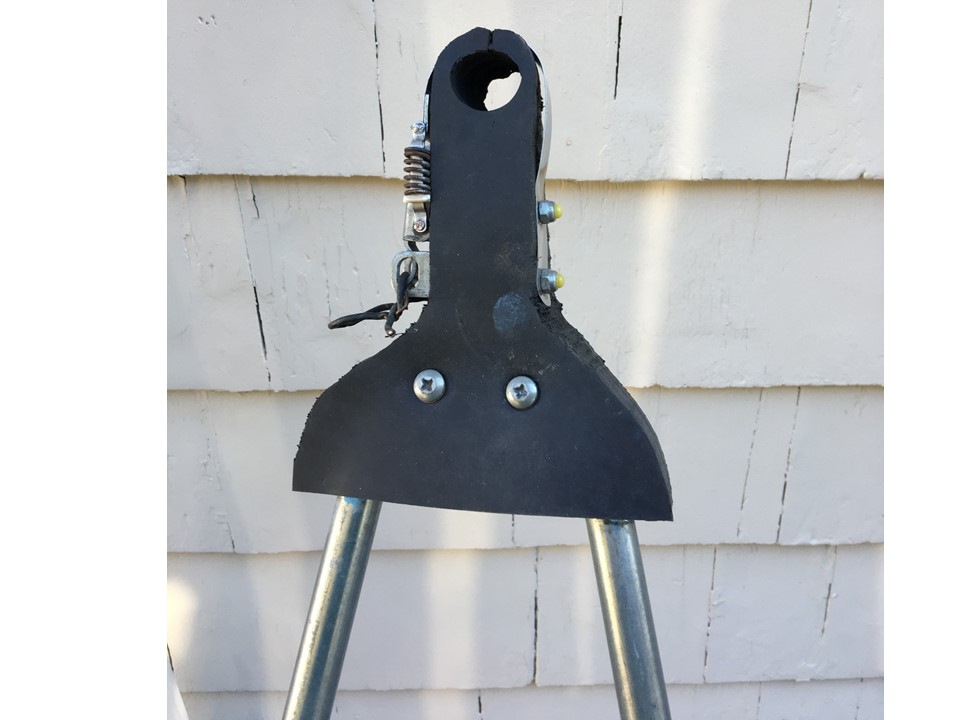
Believe it or not it works great. It’s pretty solid. It will last better than the lexan.
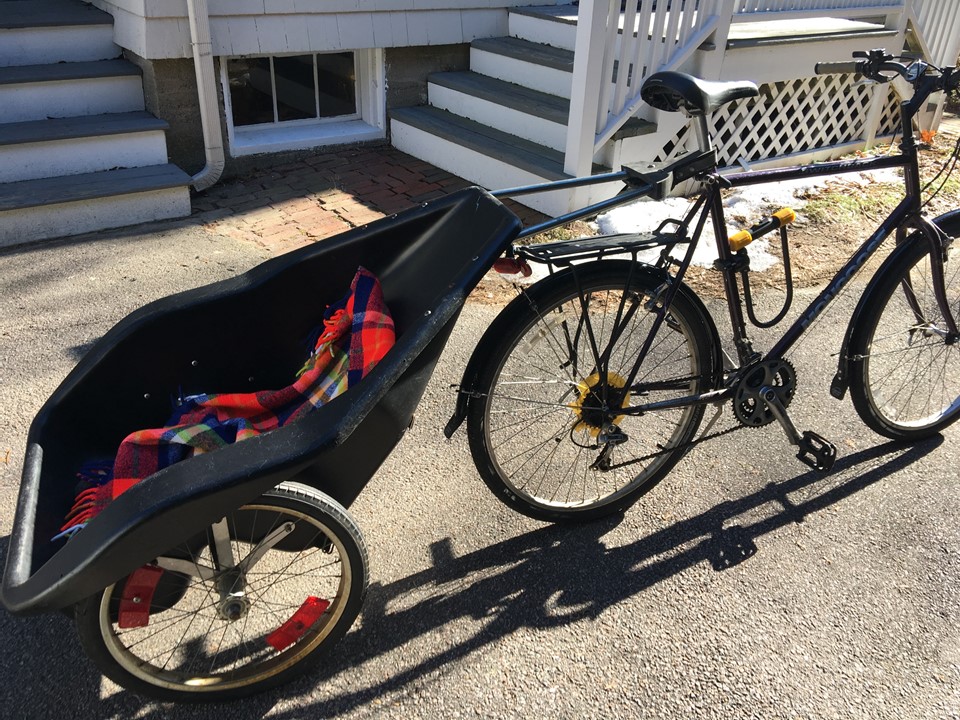
so thanks very much.
(Here’s the same story in video format)
John Daly
